Pets, Photography

Budget Solutions

Wheat Paste #wheatpaste #craftycrap #problemsolvingonabudget

Finished!  I covered the bottoms of the patio windows with tissue paper adhered with wheat paste. This will block the dog from seeing and reacting to everything that walks by, which will hopefully help her rest her injured psoas.   Total cost of six sheet

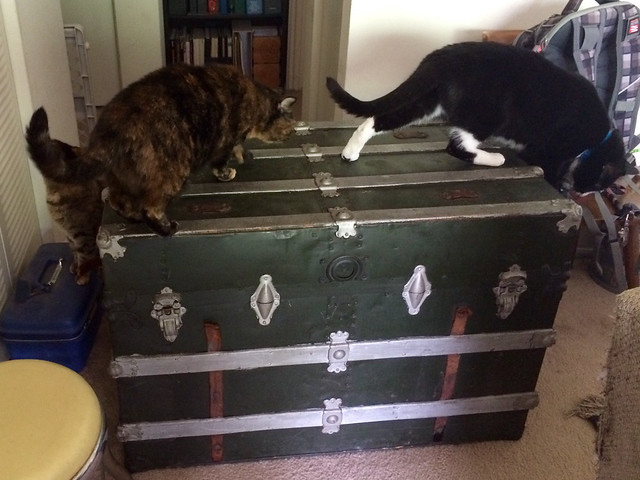
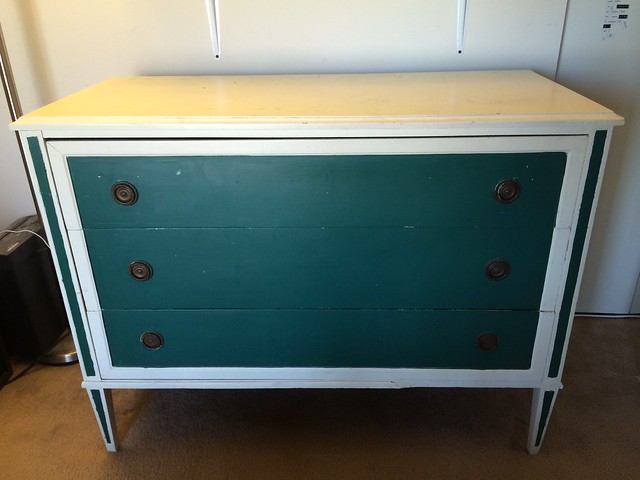
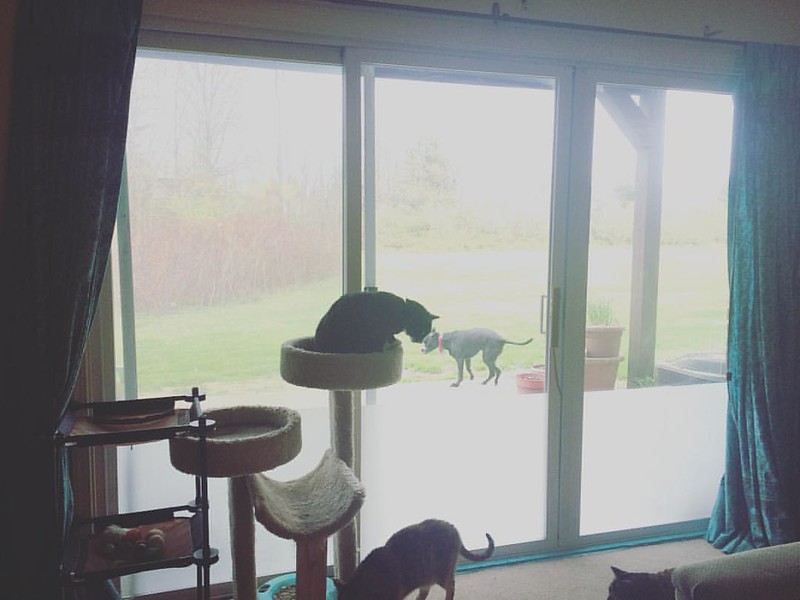
With Frances injured again (AGAIN!), it’s clear that some things need to permanently change. One of the things that has to change is that she can no longer have any access to getting on the furniture. She hasn’t got any sense, and she’ll see or hear things that require her attention RIGHTTHISMINUTE, and launch herself off the couch like a little black torpedo. Not good for a dog with bad joints. So no couch.

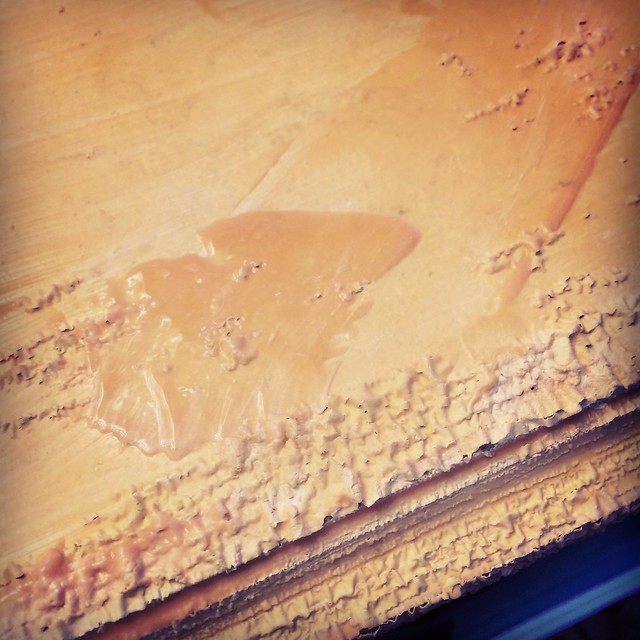
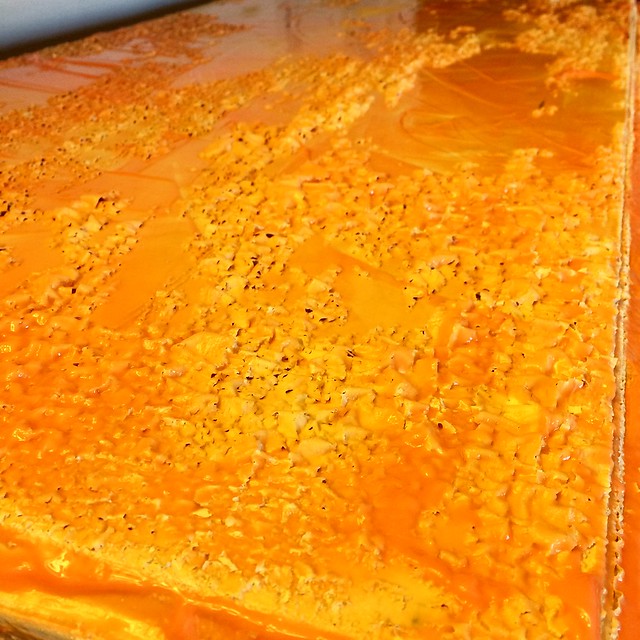
I also needed to find a way to block her line of sight to the back field, so she doesn’t react to every thing that moves out there. I priced static cling window film, but it was going to be around US$50 to cover just the lower portion. That’s ridiculous. I have tissue paper on hand, though, and wheat paste is cheap and easy to make, so that’s what I used. It worked great! If I do it again, though, I would use much less wheat flour. The paste was awfully thick, and it doesn’t need to be, for my purposes. I also wouldn’t add the flour to already boiling water. That creates an unholy mess of lumps that then need to be strained out. Instead, I’d mix the flour and water, whisk it until it’s smooth, and then cook it.

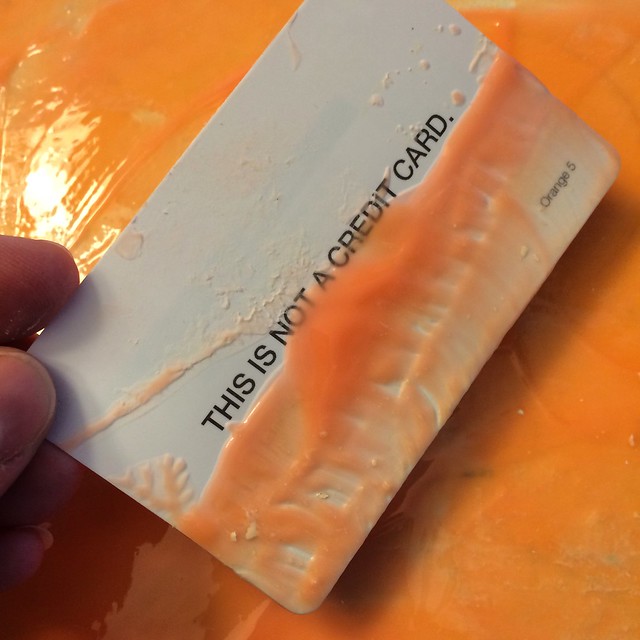
I’m happy with the finished product, though. It looks decent, it was easy to do, and the total cost was about 10 cents.

Photography

Brasses

IMG_7919
Before

IMG_7922
After

The person who stripped and painted it the first time didn’t remove the hardware for stripping, so why would they bother to do so before painting? The brasses are slopped with green and cream paint. I boiled them in water, then scrubbed away the paint with a toothbrush, then gently buffed them with #000 steel wool. I didn’t want to remove all the patina.

Photography

Before

IMG_7885
Before

IMG_7886
Missing trim

IMG_7888
More missing trim

IMG_7887
Cat scratches (My cats did not do that.)

IMG_7889
Paint job (I did not do that!)

IMG_7890
Paint job

I got this dresser from a coworker a couple of years ago. I’ve been meaning to re-finish it or paint it or do something with it, because A) the colors are kind of awful and not something I’d choose, B) the paint job is kind of awful and not something I’d do, and C) it’s got a lot of damage.

I finally got around to starting on it this weekend. I thought I’d strip the top and maybe the drawer fronts, then paint the body, since there was so much trim that was damaged and missing. Once I got some of the paint off, though, I realized that it had been stripped before, then re-painted. The person who stripped it the first time did not remove the knobs, so they left paint under them. (And paint on them, because they also didn’t remove them when they re-painted it.) Worse, though, they scratched the living hell out of it. I’m assuming the deep gouges were from rough living, but the lighter scratches I found were clearly made by someone who stripped the piece and had not one single clue what they were doing.

Basically, it’s a hot mess. I’m not sure what I’ll do with it. Right now, the plan is to finish stripping the drawer fronts and maybe the sides, oil them with linseed oil, and paint the body. I’ll just live with the scratches. Of course, I may change my mind tomorrow.

Photography

Charging Station

Polly, bless her heart, has a lifelong issue with chewing on cables. Her favorite are headphone and gadget charging cables. That means that I can’t leave them sitting out, so cable management is important. What to do? I had this cheap-ass wooden box.

Charging Station

It really is cheap. So cheap that I was afraid to remove the hardware before painting it, because it might not survive the trauma.

Charging Station

The first step was to use my Dremel to make a hole in the back, for the cords to pass through. I am not a woodworker. I did not do a very tidy job of it. The wood split. I used a grinder attachment to even it out as well as I could, but I am also not the princess of patience. A lick of paint will hide a multitude of sins, right?

Charging Station

So I sanded the whole thing, mixed up some teal paint, and went to work.

Charging Station

It took a couple of coats of paint. After it had dried, I cut some scrapbooking paper to size, to line the drawers and the top.

Charging Station

Et voila. The finished product has room to charge a Kindle, phone, and an iPod. It also has two shallow drawers to hold all the small junk that accumulates on the table inside my front drawer, keeping the cats out of it.

Altogether, the whole project took me about three hours, and that included the time it took me to figure out where in the hell I’d hidden my Dremel.

Photography

Finished!

I finally finished the basket I was making for Franny’s toys, and it’s not even June. I used the tutorial here as a jumping off point, but I changed several things.

1. I pulled the strips of T-shirt, to make them curl into yarn-like tubes. I think they’re easier to work with that way, and the edges are rolled to the inside, so they aren’t likely to fray.

HipstaPrint
Flat

HipstaPrint
Curled

2. I used a no-sew method to join the ends of the pieces together.

Untitled
Stack the ends on top of each other, fold over, and cut a small slit in the center of the folded edge.

image
Unfold, then pull the opposite end of the new piece through both slits.

image
Pull the end of the “parent” piece through the slit of the “child.”

image
Pull taught.

3. I aligned the braids so that the stitches are invisible. I’m right handed and worked from left to right. If you look closely at the direction of the strands in the braid, you can see that they mirror the direction of the thread. That makes it easy to hide the stitches under each section of braid.

Untitled

Untitled

4. To start and finish, I tucked the ends of the three strands under sections of braid on the back side. The original tutorial showed tapering the braid to finish, but I didn’t like the way that looked.

Untitled
Finished start.

image
Finished end.

And…

image
The End.

ETA: I opted to omit the handles. I’m using this as a dog toy basket, so I didn’t want to encourage Franny to drag it around the house. I also changed the way I started and finished. I didn’t like the way the gradual step-down looked, so I wove the strands from the ends of the braid back into the braid on the coil below, then stitched them into place. Like so.

Braided T-shirt Basket