
Altering photos is a great way to recycle pictures that didn’t turn out well.
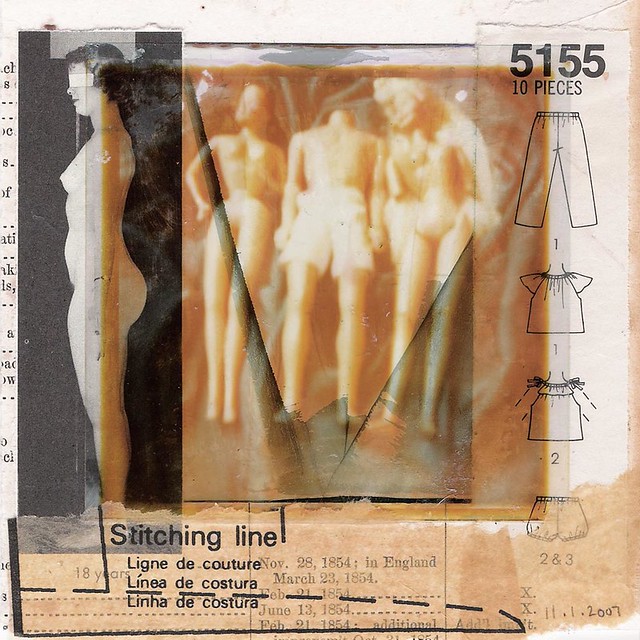
Piece Work, collage (altered Polaroid, anatomical illustration, child’s dress pattern, and page from old patent book) on 140lb Cartiera Magnani hot press watercolor paper 4 1/2 x 4 1/2 inches

Pinked, collage (altered Polaroid, child’s dress pattern, leaf, and buttons) on 140lb Cartiera Magnani hot press watercolor paper 4 1/2 x 4 1/2 inches
Polaroids
Start by taking them apart. This can be a bit tedious, but once you know how they’re constructed, it’s not difficult. Begin by pulling off the edging tape (you might have to use an X-acto or razor blade to pry up an edge), then remove the front plastic sheet from the backing. The plastic sheet is what you’ll be working with. The photo emulsion is on the back of it. You can sand the front, which is kind of neat, but you can also scratch and/or sand through the emulsion from the back. Or, you can bleach it.
To bleach photos, I use a dinner plate with a shallow pool of undiluted bleach. Just lay the photo, emulsion side down, into the bleach. Lift it out and watch the front side of it. When it is lightened the desired amount, immediately place it in water. (I do this at the kitchen sink, while the water is running.) Gently blot and leave to dry, emulsion side up.
Caveats: Dark photos work best for bleaching. Any white areas will disintegrate easily when bleached, so be careful not to leave it in the bleach for too long. Also be careful handling the emulsion side, at least until it has dried thoroughly.
Instead of bleaching, you can wet the emulsion with plain water. Let it sit a moment to soften. Then, gently manipulate it with your fingertips, a brush, or a pencil eraser. It’s possible to get some interesting blending results this way. Just be careful not to overdo it, because it’s a fine line between manipulation of the emulsion and its complete removal.
Once the photos are dry, you can use them in collages, paintings, or in art journals. I use a very thin layer of acrylic medium to adhere them. Make sure you burnish thoroughly, both to ensure good contact and to force out any extra adhesive. Mechanical fasteners, like eyelets, brads, or thread work great, too. And then, of course, there are good, old fashioned photo corners.
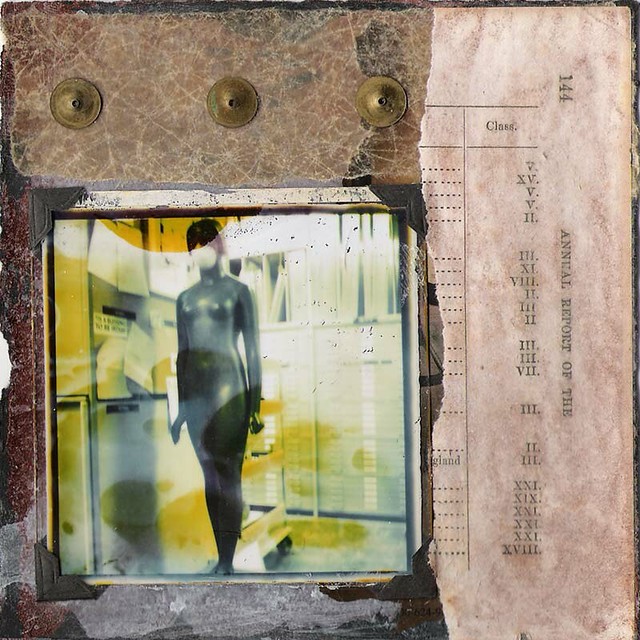
Amulet, collage (altered Polaroid photo, brass beads, unbleached waxed paper, and fragment from 1854 patent book) and acrylic paint on 90lb Stonehenge paper 5 1/2 x 5 1/2 inches
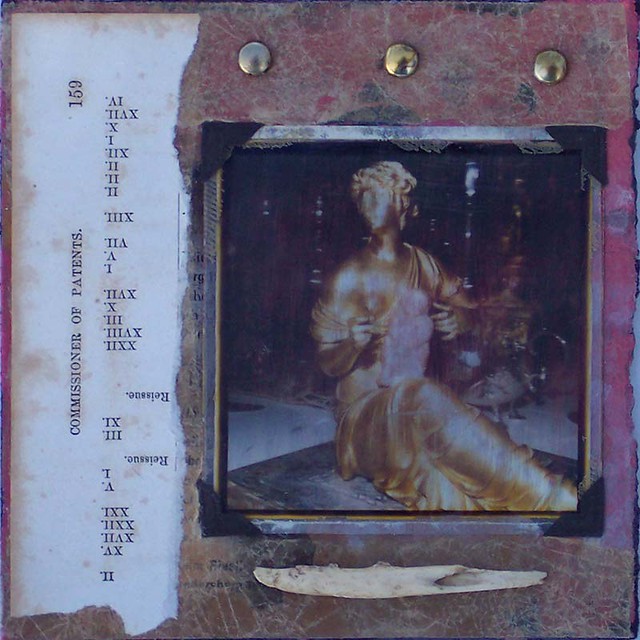
The Bone of a Thought, collage (altered Polaroid photo, bone fragment, brass brads, unbleached waxed paper, and fragment from 1854 patent book) and acrylic paint on 90lb Stonehenge paper 5 1/2 x 5 1/2 inches
35mm Photos
Regular old 35mm photos can be altered in many of the same ways as Polaroids. Bleaching and sanding are probably the two easiest methods. Painting or drawing directly onto the surface of the photo is another option.
These were all altered with just bleach. I used Q-tips, a syringe, and my fingers to apply both diluted and undiluted bleach. Caveat: if using undiluted bleach, I recommend having a tub of water handy or do your altering at the kitchen sink with the water running. You’ll need to act quickly or the bleach will completely eat away the image. I found that using a syringe filled with a 50/50 bleach/water solution, pre-wetting the photo with water, and running the photo through the water as soon as the bleach was applied worked best.
I really like the way the squarish photo of the snake turned out. That effect was gotten by filling the bottom of a lunch plate with a 50/50 bleach/water solution, dipping the center of the photo in the liquid, then immediately running it under water.
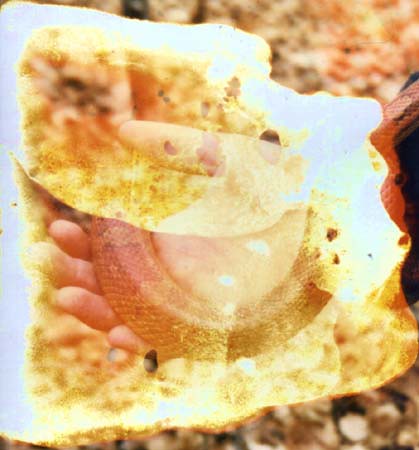
35mm photo altered with bleach
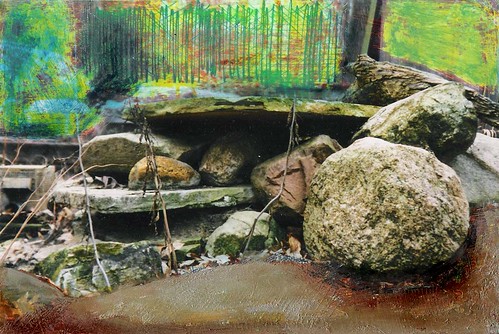
35mm photos altered by sanding, incising, coloring
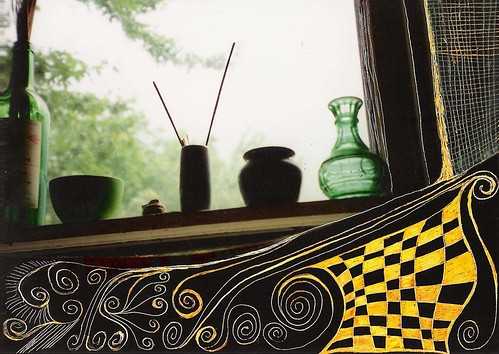
35mm photos altered by incising
